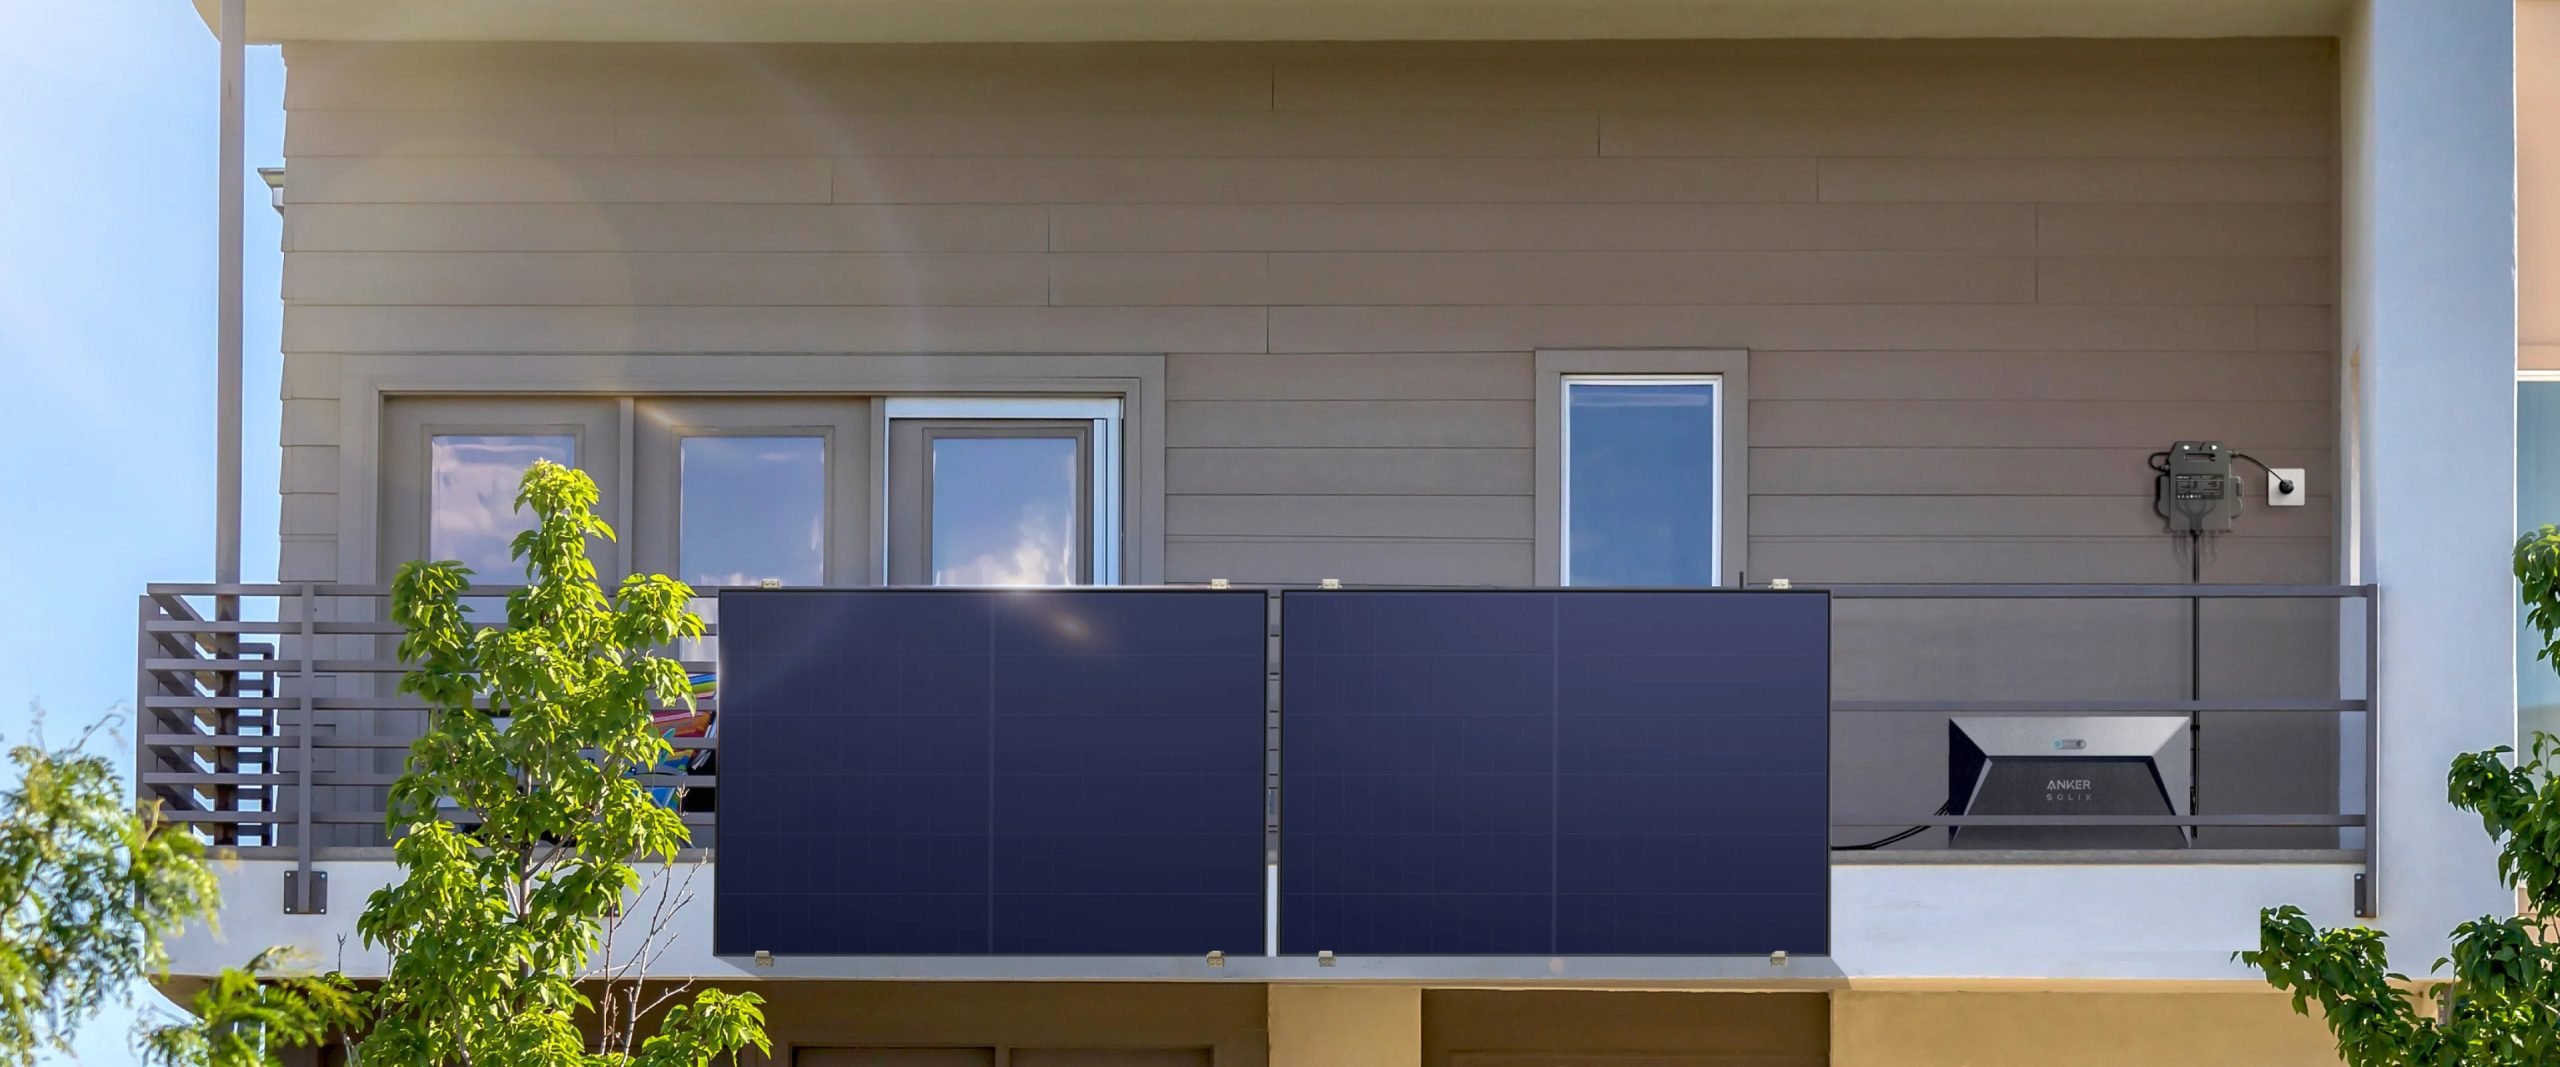
General Questions
Jucai Huixin is a manufacturer of solar bracket.
Yes, you can. In fact, many customers start with a trial order.
Yes,we have a brand Jucai Huixin.
Yes, Jucai Huixin accepts OEM.
Jucai Huixin has 4 factory areas.
Sales Questions
Yes,of course,Jucai Huixin can undertake projects.
Yes,you can get free samples from Jucai Huixin.
Yes,OEM is free.
Yes,we do.
No,They don’t work.
After Purchase Questions
Steps:
Surface Prep: Clean the wall/roof surface and mark drilling points using the provided template .
Bracket Assembly: Secure vertical supports to the wall with bolts (e.g., M8 or M10 stainless steel fasteners).
Panel Mounting: Attach panels using clamps, ensuring alignment with tilt adjustments (0°–50°) .
Tighten Bolts: Use a torque wrench (15–20 Nm) to avoid over-tightening.
Tools Needed: Drill, level, wrench, and safety gloves .
Structural Warranty: 10 years against material defects or design failures .
Anti-Corrosion Guarantee: 25 years for aluminum brackets (powder-coated or anodized finishes) .
Service: Free replacement for cracked brackets under warranty; contact support within 30 days of purchase .
Monthly: Wipe brackets with a dry cloth to remove dust/debris .
Seasonal:
Winter: Clear snow using a soft brush to avoid scratches; adjust tilt angle for optimal sunlight .
Summer: Check for rust or loosened bolts in coastal/high-humidity areas .
Annual: Inspect mounting hardware and tighten if loose .
Compatibility:
Size: Supports panels 30–50mm thick and 100–400W capacity .
Mounting Style: Universal U-shaped or C-shaped clamps fit most frames (e.g., aluminum, steel).
Recommendation: Share panel specs (dimensions, weight) with our team for compatibility confirmation .
Options:
Material: Upgrade to galvanized steel for coastal areas or stainless steel for high-load applications .
Tilt Range: Customizable from 0°–70° for seasonal adjustments .
Color/Finish: Match RAL color codes or opt for matte/black finishes .
Process: Submit your requirements (specs, drawings) → 3–5 days for design → Prototyping → Mass production .
Getting Started Questions
Key Considerations:
Sunlight Exposure: Prioritize areas with 6+ hours of direct sunlight daily, avoiding shadows from trees or buildings .
Surface Stability: Ensure the wall/roof is structurally sound and can support the bracket’s weight (e.g., concrete or reinforced metal surfaces) .
Aesthetic & Functional Alignment: Position the bracket to angle panels toward the sun’s path (e.g., south-facing in the Northern Hemisphere) for maximum efficiency .
Essential Tools:
Drill: For creating pilot holes in walls/roofs .
Level: Ensures the bracket is installed straight to avoid misalignment .
Measuring Tape: For precise spacing and alignment .
Safety Gear: Gloves and goggles to protect against debris or sharp edges .
Stainless Steel Fasteners: Included in most kits for corrosion resistance .
Timeline:
Simple Installations (flat surfaces, pre-drilled holes): 30–60 minutes.
Complex Installations (roofs, custom angles): 2–4 hours.
Pro Tip: Follow the manufacturer’s template to minimize trial-and-error .
DIY-Friendly: Most brackets include step-by-step guides and pre-assembled components for self-installation .
When to Hire a Pro:
For heavy-duty systems (e.g., commercial rooftops).
If the surface requires structural reinforcement (e.g., brick walls) .
Safety Checks:
Tighten Bolts: Use a torque wrench to secure brackets (15–20 Nm recommended) .
Weatherproofing: Apply silicone sealant to joints in rainy/humid climates .
Wind Resistance: Anchor brackets to load-bearing walls or use expansion bolts for high-wind areas .


